This is a step-by-step guide that will go over everything you need to do before our React workshop!
Outline
Check if you already have Node.js or npm
Since we will be using the create-react-app tool, Node ≥ 14.0.0 is required!
- Create a
my_projectfolder – Somewhere inside your Document folder will be good. - From the terminal, go inside the
my_projectfolder and then run the following commands:
node -v
npm -v
If Node & npm are missing, let’s install them!
macOS with nodenv
We recommend installing Node.js using nodenv to manage node versions. This allows your computer to have a specific Node.js version per project.
⚠️ Remove any existing installations of Node.js before installing nodenv! ⚠️
Having different Node.js installations can lead to conflict issues.
Step 1. Install nodenv with Homebrew
| Update Homebrew | brew update && brew upgrade |
| Install nodenv | brew install nodenv |
Step 2. Set up nodenv shell integration
| Run the initialization command | nodenv init |
| Append the following line into the shell’s rc/profile | eval "$(nodenv init -)" |
| For Zsh users | For Bash users |
|---|---|
echo 'eval "$(nodenv init -)"' >> ~/.zshrc |
echo 'eval "$(nodenv init -)"' >> ~/.bash_profile |
cat < ~/.zshrc |
cat < ~/.bash_profile |
Step 3. Implement the changes
Close & open a new Terminal window for the changes to take place.
Step 4. Verify that nodenv is properly set up using the nodenv-doctor script.
-
For those using Z shell (Zsh) shell:
curl -fsSL https://github.com/nodenv/nodenv-installer/raw/master/bin/nodenv-doctor | bash -
Expected result:
Checking for `nodenv' in PATH: /usr/local/bin/nodenv
Checking for nodenv shims in PATH: OK
Checking `nodenv install' support: /usr/local/bin/nodenv-install (node-build 3.0.22-4-g49c4cb9)
Counting installed Node versions: none
  There aren't any Node versions installed under `~/.nodenv/versions'.
  You can install Node versions like so: nodenv install 2.2.4
Auditing installed plugins: OK
Step 5. Install Node.js inside the Workshop folder (my_project)
Now you're ready to install specific Node.js versions!
Inside my_project folder, install Node.js version 14.5.0:
  cd my_project/

  nodenv install 14.5.0

  nodenv local 14.5.0
Alright! Your Mac is now armed with Node.js!
Download the required packages by opening a terminal for both the frontend & backend folders and then running the npm install command!
Windows with nvm-windows
The following steps are straight from the Microsoft Docs on Set up NodeJS on native Windows. We recommend installing and managing Node.js with nvm-windows
⚠️ Remove any existing installations of Node.js before installing nvm-windows! ⚠️
Having different Node.js installations can lead to conflict issues.
Step 1. Go to windows-nvm's latest release.
Step 2. Download the nvm-setup.zip file for the most recent release.
Step 3. Once downloaded, open the zip file, then execute the nvm-setup.exe file.
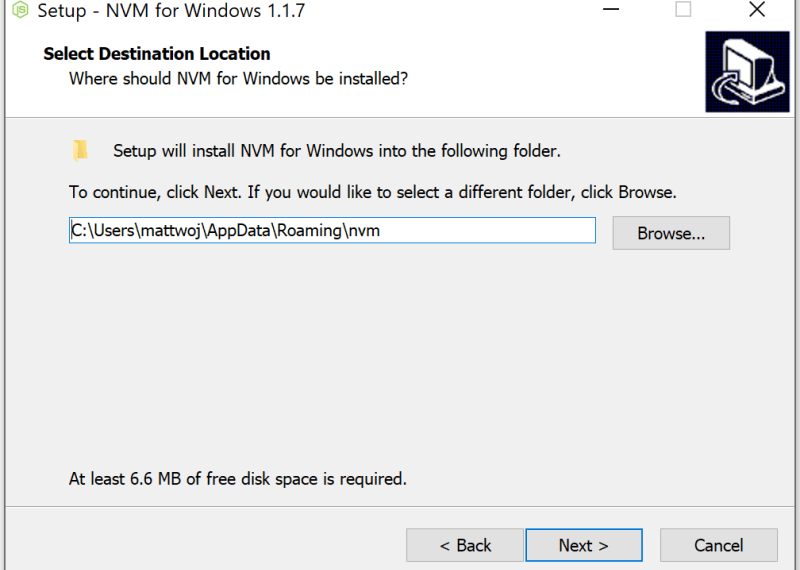
Step 4. The Setup-NVM-for-Windows installation wizard will walk you through the setup steps, including choosing the directory where both nvm-windows and Node.js will be installed.
Step 5. After the installation is complete, open PowerShell & enter nvm ls
-
nvm lslists out installed Node versions (should be none at this point)
Step 6. Install Node.js inside the Workshop folder (my_project)
- Now you're ready to install specific Node.js versions!
- Inside the
my_projectfolder, install Node.js version14.5.0:
  cd .Documentsmy_project

  nvm install 14.5.0

  nvm use 14.5.0
Alright! Your Windows is now armed with Node.js!
Download the required packages by opening a terminal for both the frontend & backend folders and then running the npm install command!


